WorkinTool Video Editor
Simple tools that make your videos become masterpieces
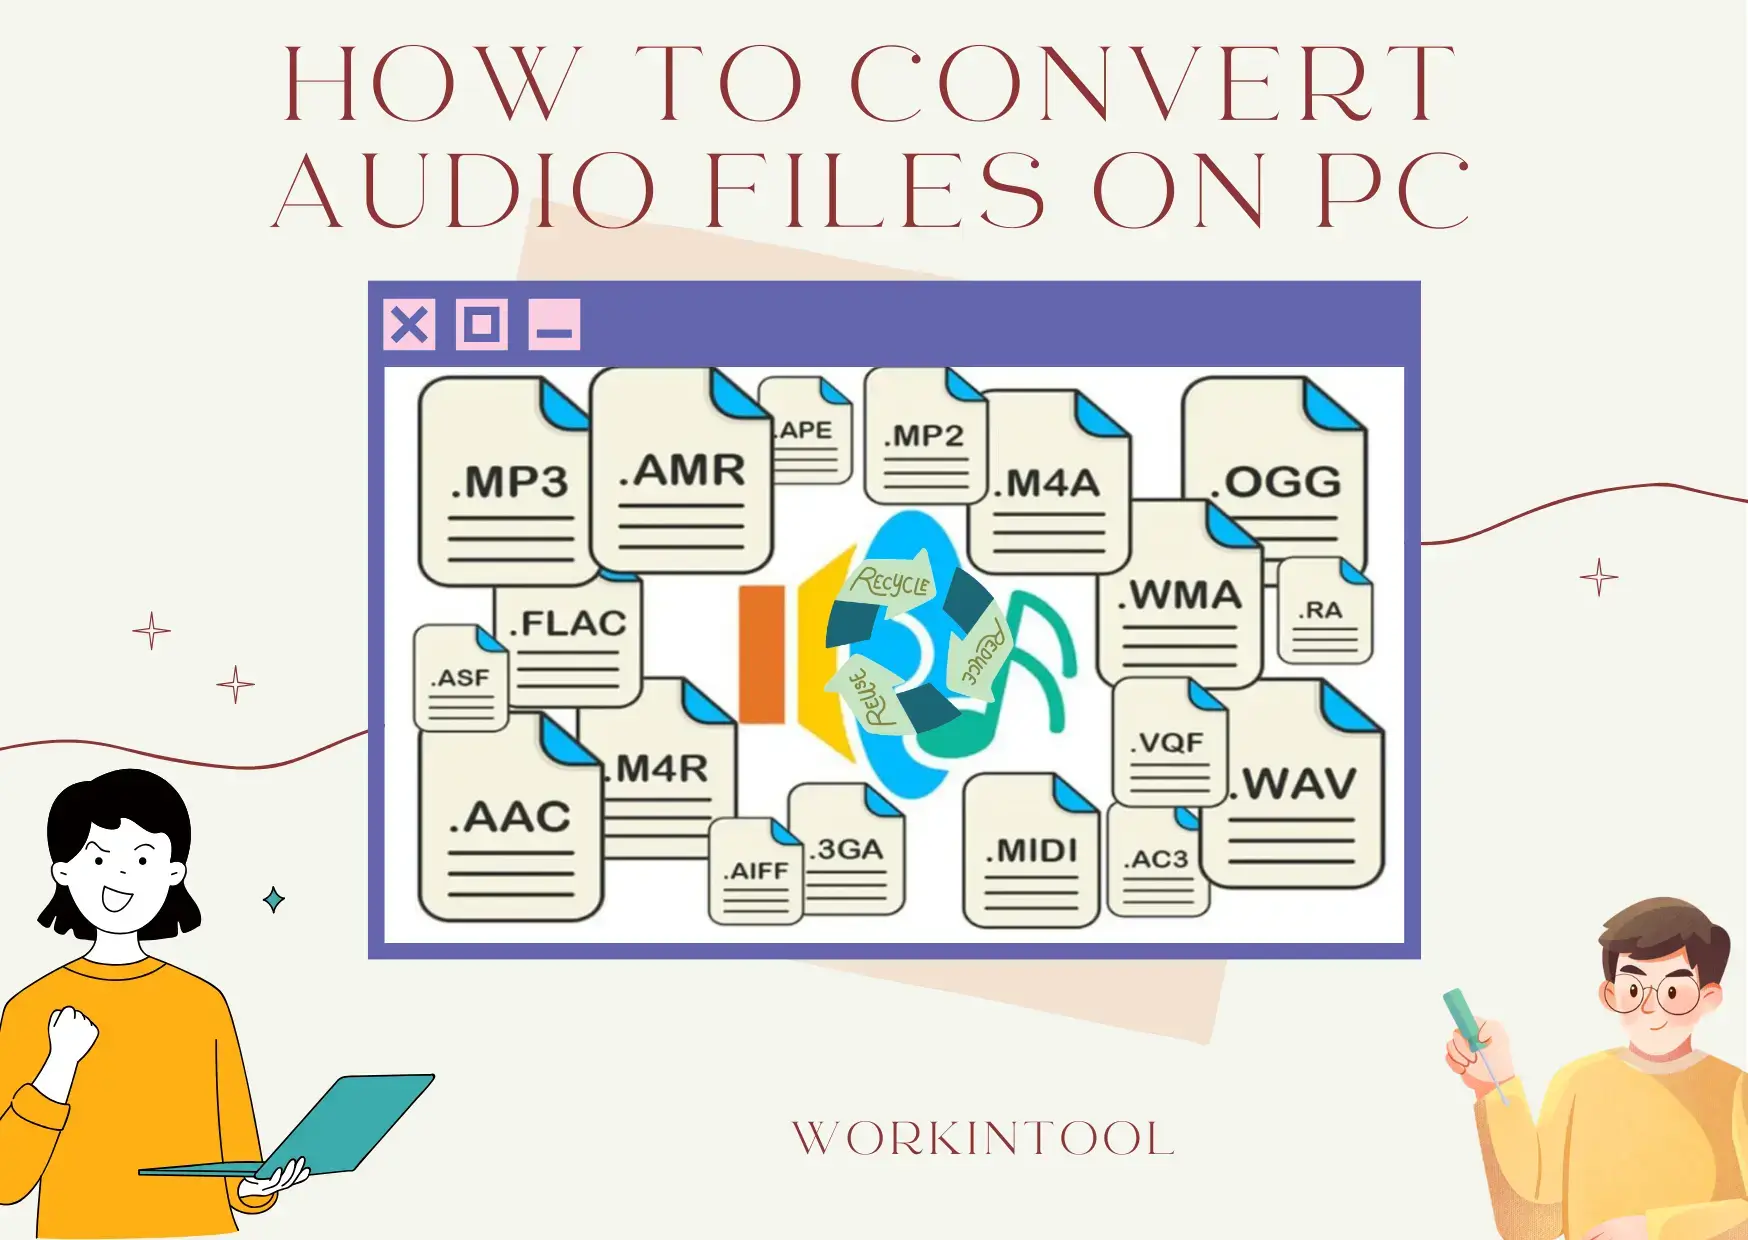
Technological advancement has now made audio conversion a breeze. In this guide, we will show you how to convert audio files effortlessly on your computer, exploring various methods for different platforms.
📌Offline: Windows–WorkinTool VidClipper and Mac–Audacity
📌Online: WorkinTool Online Audio Converter and 123 Apps (Audio Converter)
🙋🏻♀️With the help of the tools outlined in this article, you can effortlessly save your audio collection as the desired format. Whether you need to optimize files for specific devices, share them online or simply ensure compatibility with your preferred player, these methods empower you to take control of your audio experience.
🙋🏻♂️However, if you are a Windows user who prefers a desktop app, WorkinTool VidClipper is your best choice. It is user-friendly, easy to use, reliable and versatile enough to complete audio conversion tasks and do more than this mission. Now, please start your reading and experience all of them by yourself.
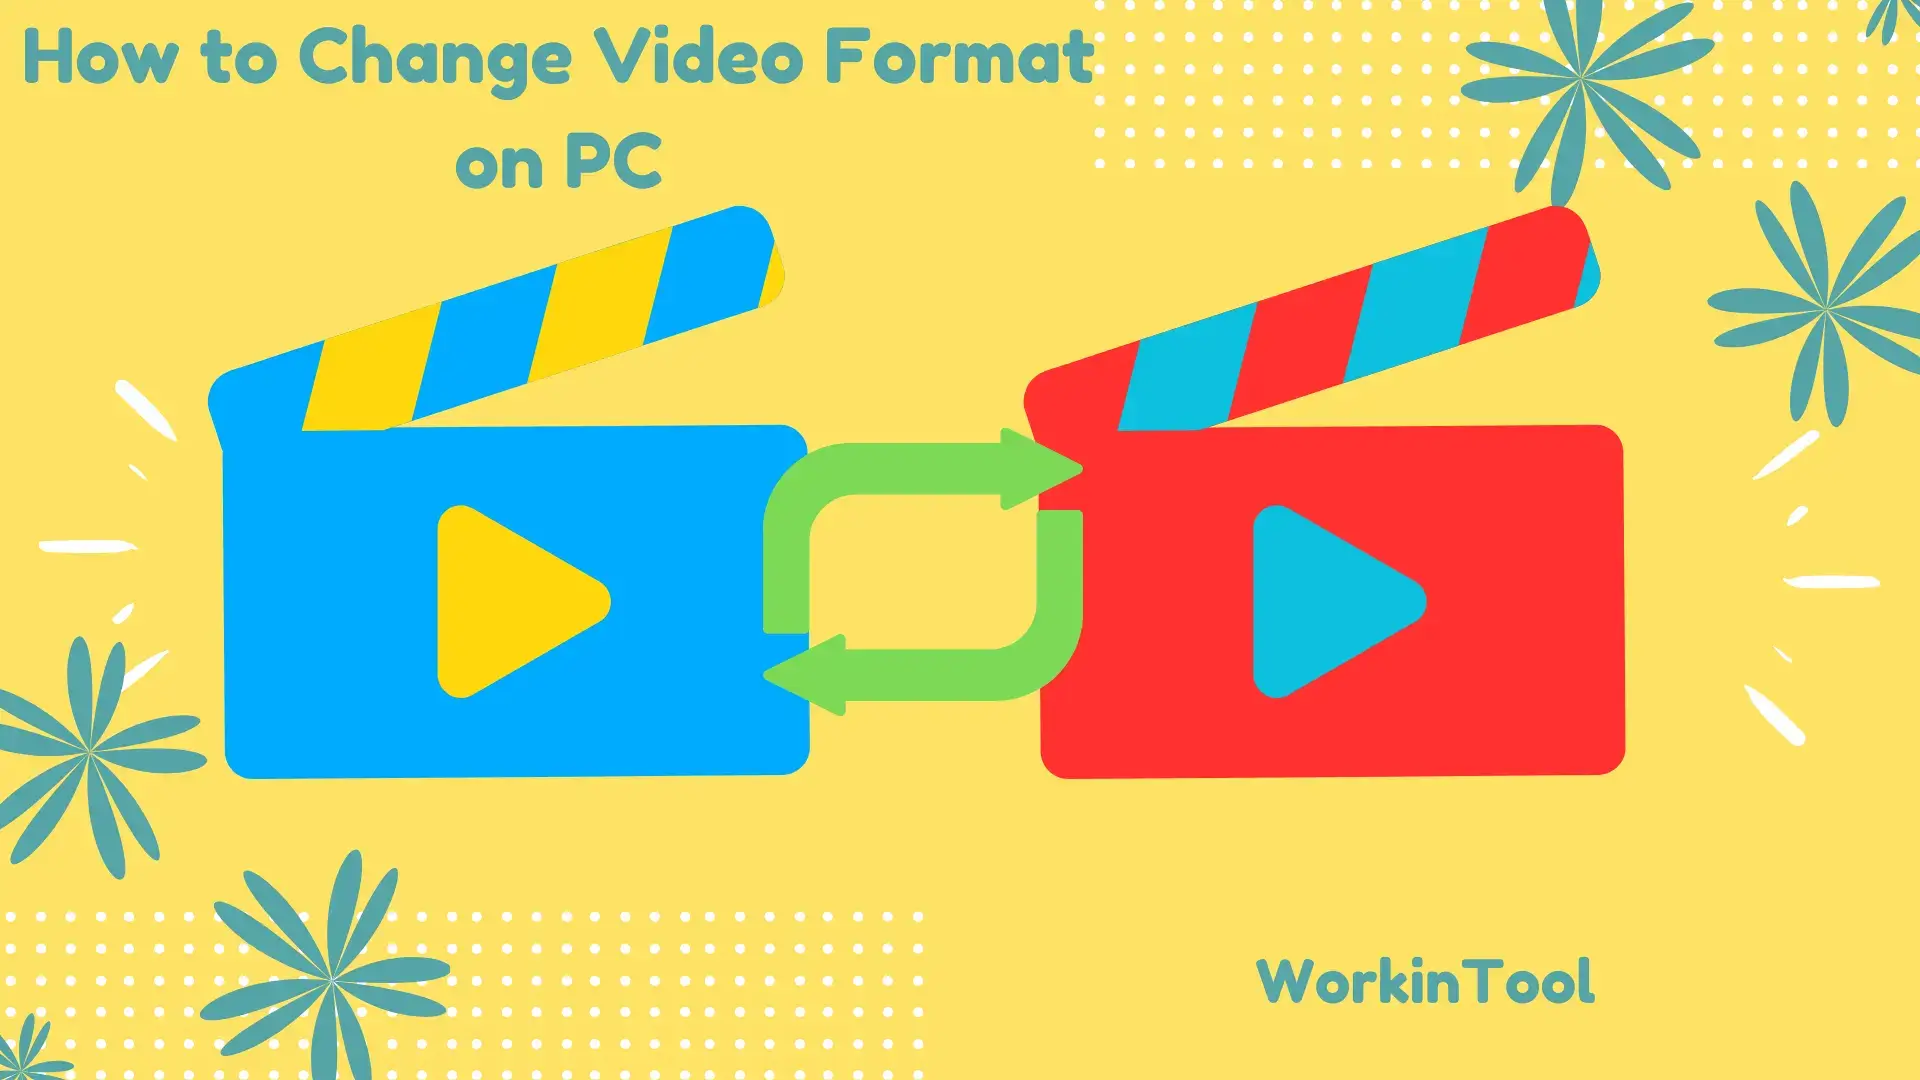
Are you struggling to play a video on your PC due to an incompatible format? Don’t worry. We have got you covered. In this article, we will show you how to change video format on your computer, introducing you to several ways that work on different platforms, including Windows, Mac and online.
📌Windows: Built-in App–Photos and External Software–WorkinTool VidClipper
📌Mac: Built-in App–QuickTime Player and External Software–HandBrake
📌Online: WorkinTool Online Video Converters and FreeConvert
🙋🏻♀️Whether you prefer a free online tool like FreeConvert, the familiar interface of your QuickTime Player or the powerful features of dedicated software like Handbrake, there is always an option to suit your needs. However, if you are a Windows user with a preference for desktop software, WorkinTool VidClipper is your ideal option. It is user-friendly, easy to use, reliable and versatile enough to convert multi-formatted video files and do more than video conversion.
🙋🏻♂️Now, please start your reading and experience all of them by yourself.
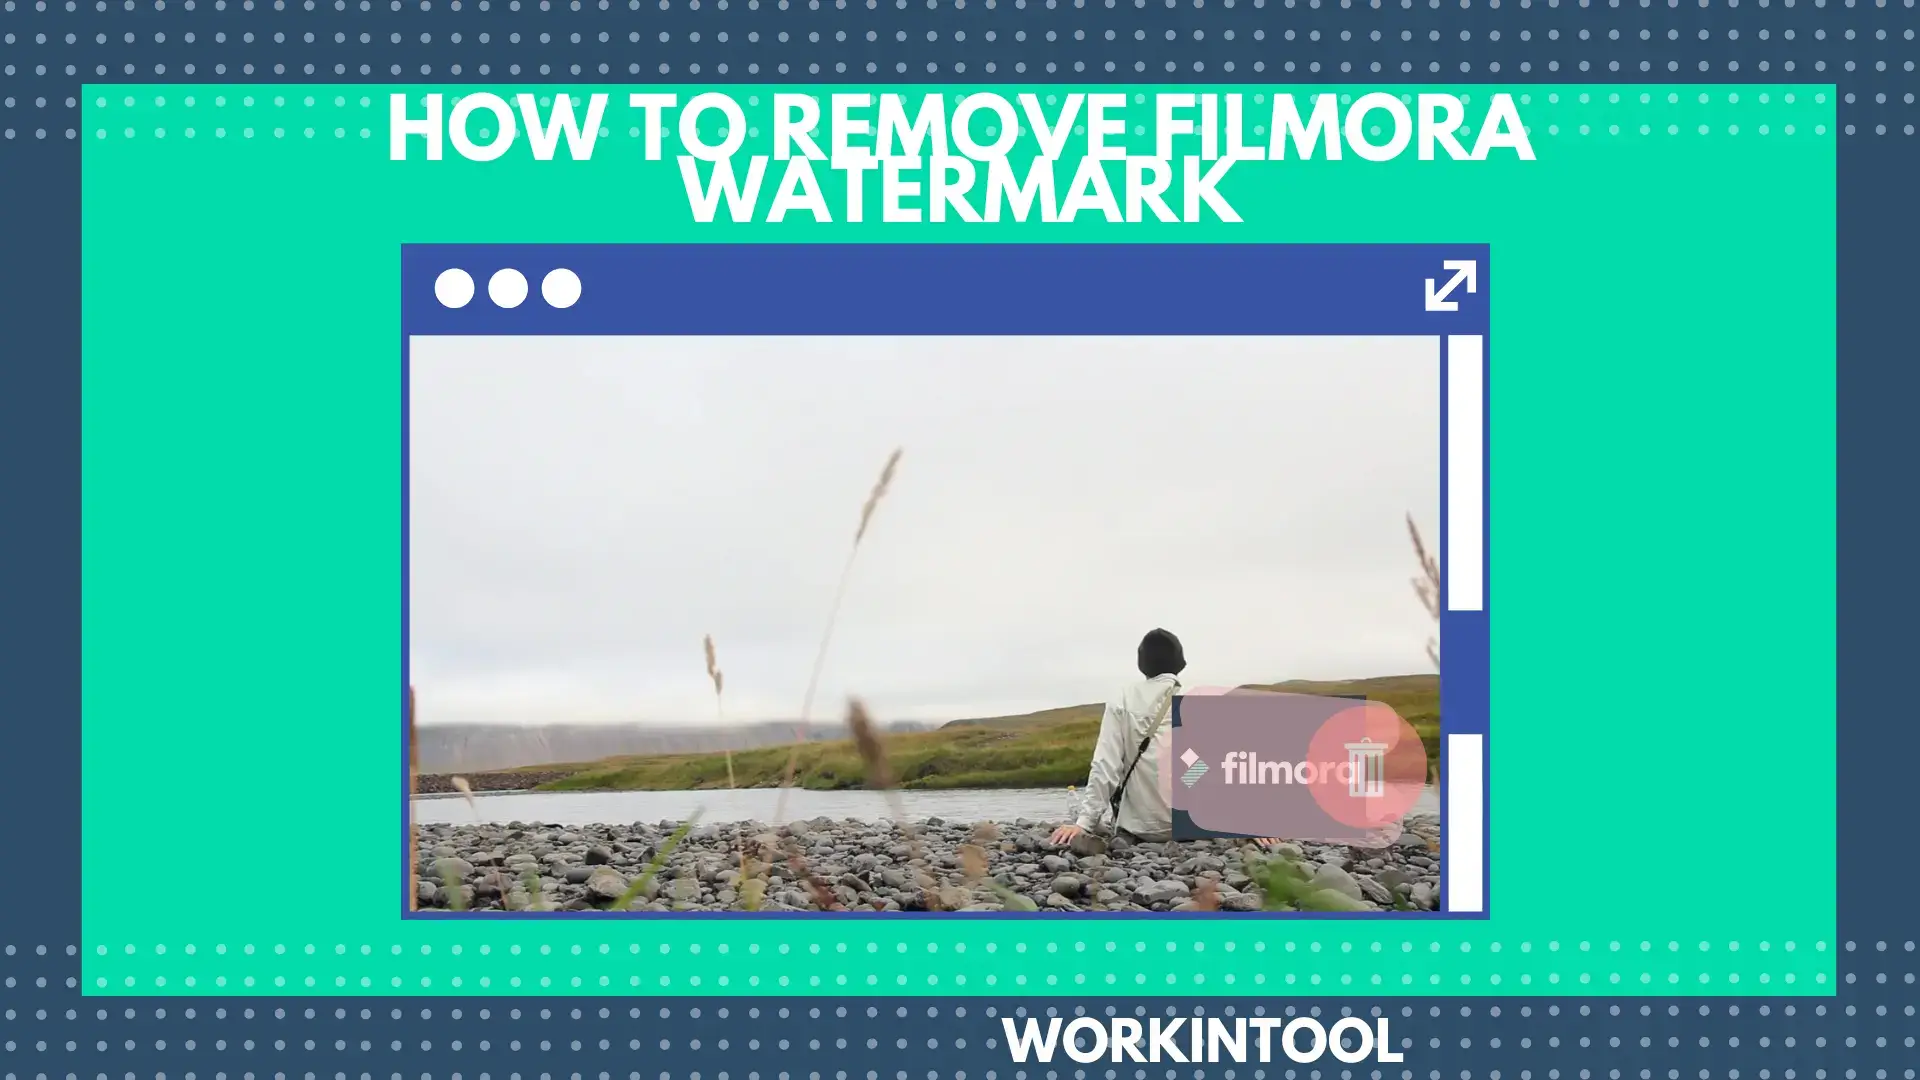
📃In this article, we will show you how to remove Filmora watermark with and without buying it. We will inform you of the knowledge and tools to remove that watermark and unleash your video in all its glory. With the methods explored in this guide, you can now banish the Filmora watermark and confidently showcase your video creations. Remember, the chosen method depends on your budget, editing experience and desired outcome. Whether you go free, explore alternative software or invest in Filmora’s paid version, the important thing is to have fun and express yourself through your video editing journey.
🙋🏻♀️However, a practical tool called WorkinTool VidClipper is an ideal option. As a multi-funtional tool, it can serve as a Filmora watermark remover, a screen recorder and even a perfect alternative to the Wondershare Filmora.
🙋🏻♂️Now, please start your reading and try all the methods by yourself.

Sometimes, you will come across a GIF animation that intensely captures your mind. However, you may find it appears blurry or lacks sharpness when you download and save it. Is there a way to make it clearer or higher quality? Well, the answer is yes. In this article, we will show you how to sharpen a GIF on your computer, allowing you to enhance its visual clarity and make it truly stand out. With the help of readily available software or online tools, you can take control of the sharpening process and transform your GIFs into stunning and high-quality visuals.
📌Windows–WorkinTool VidClipper
📌Mac–GIMP
📌Online–Online GIF Tools
🙋🏻♀️With the right tools and techniques, you can transform blurry GIFs into visually stunning animations that effectively convey your message or evoke the desired emotions. However, if you are a Windows user who prefers a desktop app, WorkinTool VidClipper is your ideal option. On top of being user-friendly, easy to use and reliable, it is versatile enough to do more than just GIF sharpening.
🙋🏻♂️Now, please start your reading ane experience all of them by yourself.
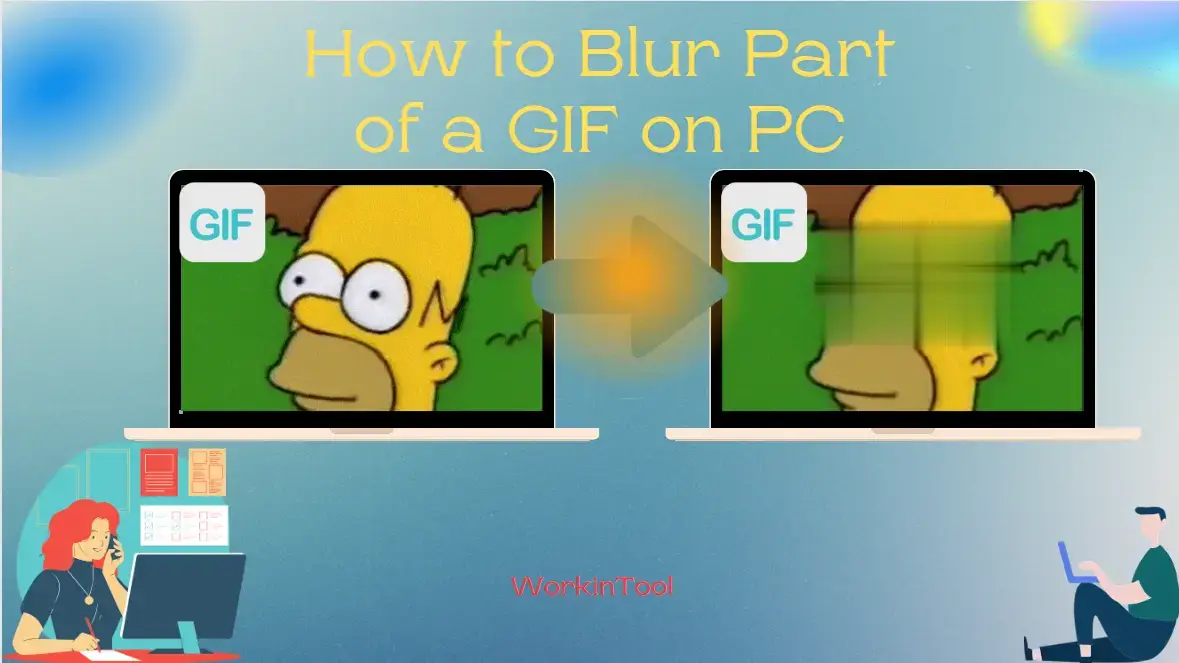
Today, we will show you how to blur part of a GIF on your computer. Different PC platforms will be covered in this article and the mastery of this technique can help you protect privacy, maintain anonymity or create a subtle effect.
📌Windows–WorkinTool VidClipper
📌Mac–GIMP
📌Online–Online GIF Tools
📌Bonus–Adobe Photoshop
🙋🏻♀️By following the step-by-step instructions in this article, you can harness the power of desktop software or online tools to achieve precise and effective GIF blurring. However, if you are a Windows user who prefers a desktop app, WorkinTool VidClipper is your ideal option. It is user-friendly, easy to use, reliable and multi-functional to do more than GIF blurring or censorship.
🙋🏻♂️Now, please start your reading and experience all of them by yourself.